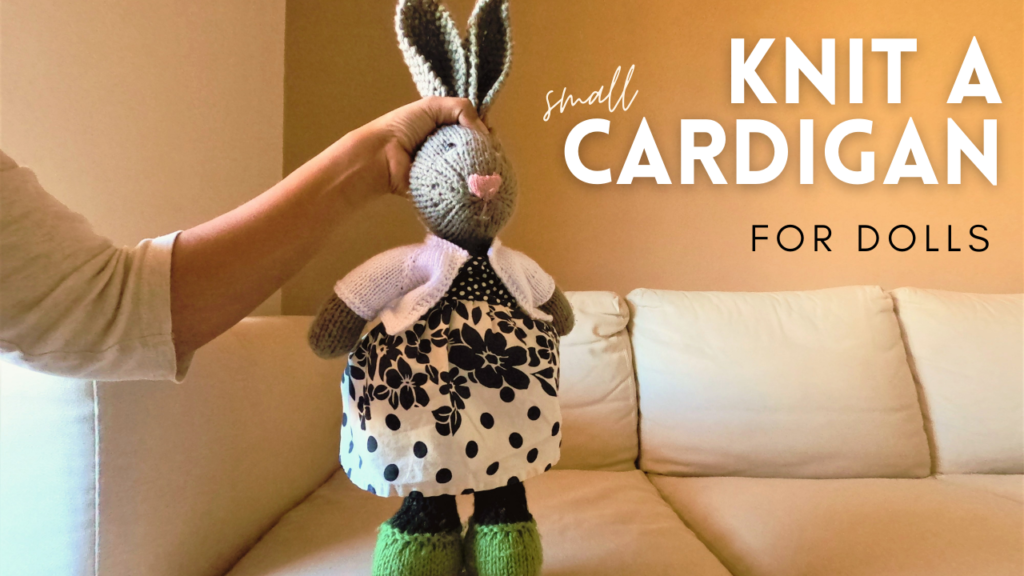
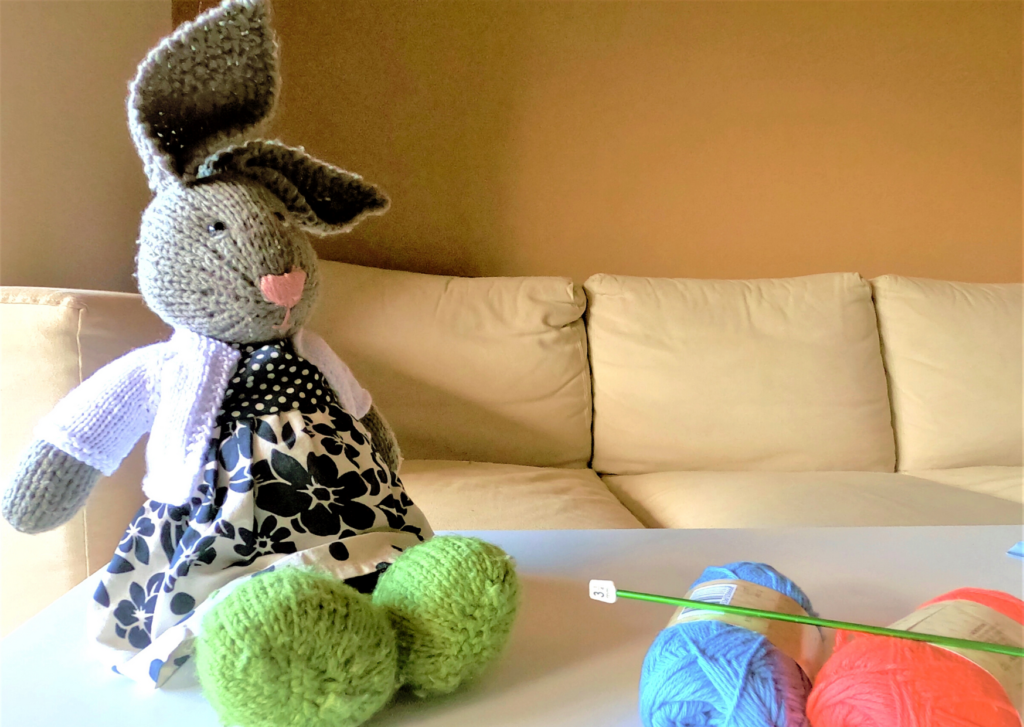
Have you seen cute knit cardigan for amigurumi on Instagram? Especially the look of stockinette knit stitches on amigurumi is to die for.
If you are hunting for a simple FREE PATTERN to knit cardigan for amigurumi, this is the one. The easiest cardigan pattern for beginner level knitters.
I would call myself and experienced crocheter but I am nowhere near that level when it comes to knitting. Learning one-step at a time and I feel like my love for knitting will soon take me to that level. If you feel like knitting is hard, please give it a go. You would soon be addicted to knitting like me.
Before we dive into the pattern, here’s a free video to make a crochet sweater/pullover for amigurumi if you are interested.
This cardigan is knit top-down. I have made some raglan increases for the sleeves. And then some simple stockinette stitches all the way to the length of the cardigan.

KNIT CARDIGAN FOR AMIGURUMI – FREE PATTERN
Here are some simple steps to making a top-down raglan cardigan
- Cast on stitches to shape the neck of the cardigan.
- Use markers to split stitches for the front, sleeves and back portion.
- Work in stockinette stitch. Make raglan increases till the length of the sleeve.
- Move the sleeve stitches to a stitch holder.
- Add some stitches for the underarm. Continue working in stockinette till the length of the cardigan.
- Cast off.
- Move the sleeve stitches back to the needle and work stockinette till the length of the sleeves.
Video tutorial for the knit cardigan
Items needed
- 8 ply Acrylic yarn
- 3.25mm hook
- Yarn needle, stitch holder, markers.
Feel free to use any yarn and its corresponding needle. The pattern should work fine, except the finished sizes may be different. Adjust the raglan increases to suit your needs.
Free written pattern
Cast on 38 stitches.
Row 1-3 : Knit three rows of garter stitch.
Row 4 : K3, P5, PM, P5, PM, P12, PM, P5, PM, P5, K3.
Row 5 : K7, KFB, SM, KFB, K3, KFB, SM, KFB, K10, KFB, SM, KFB, K3, KFB, SM, KFB, K7 (46)
Row 6 : K3, P40, K3. (46)
Row 7 : K8, KFB, SM, KFB, K5, KFB, SM, KFB, K12, KFB, SM, KFB, K5, KFB, SM, KFB, K8 (54)
Row 8 : K3, P48, K3. (54)
Row 9 : K9, KFB, SM, KFB, K7, KFB, SM, KFB, K14, KFB, SM, KFB, K7, KFB, SM, KFB, K9 (62)
Row 10 : K3, P56, K3. (62)
Row 11 : K10, KFB, SM, KFB, K9, KFB, SM, KFB, K16, KFB, SM, KFB, K9, KFB, SM, KFB, K10 (70)
Row 12 : K3, P64, K3. (70)
Row 13 : K11, KFB, SM, KFB, K11, KFB, SM, KFB, K18, KFB, SM, KFB, K11, KFB, SM, KFB, K11 (78)
Row 14 : K3, P72, K3. (78)
Row 15 : K12, KFB, SM, KFB, K13, KFB, SM, KFB, K20, KFB, SM, KFB, K13, KFB, SM, KFB, K12 (86)
Row 16 : K3, P80, K3. (86)
Row 17 : K13, KFB, SM, KFB, K15, KFB, SM, KFB, K22, KFB, SM, KFB, K15, KFB, SM, KFB, K13 (94)
Row 18 : K3, P88, K3. (94)
Row 19 : K14, KFB, SM, KFB, K17, KFB, SM, KFB, K24, KFB, SM, KFB, K17, KFB, SM, KFB, K14 (102)
Row 20 : K3, P96, K3. (102)
Separating sleeves
Row 21 : K16, Move the next 21 sts to scrap yarn, CO3 sts, K28, Move the next 21 sts to scrap yarn, CO3 sts, K16.
Row 22 : K3, P60, K3.
Now continue in stockinette stitch till the end of the cardigan.
Add three rows of garter stitch for the edge at the bottom.

Working the sleeves
Now pick the stitches from the stitch holder. Remember to add the stitches at the underarm. Which would make 24 stitches if you follow the same pattern.
Work 10 rows of stockinette stitch.
Three rows in garter stitch, and cast off at the third row to finish off.


