
I have searched far and wide for the best way to attach fabric/tulle to my baby’s crochet tunic with no luck. I looked at so many videos of people doing them differently and I have finally come up with a way that works for me. And, I am going to share with you today the best way to attach fabric to crochet baby dresses.
The first part of the blog post contains written pattern to make the crochet yoke, the second half will have instructions and video tutorial on how to attach fabric and tulle to your crochet yoke.
This written pattern is made to fit a 6 month old baby.
You will need:
- 8 ply Acrylic baby soft yarn
- 4.00 mm hook
- Button
- Sewing needle, stitch markers
- Tulle & Lining fabric ( Two bits of 55 X 35 cm fabric for the front & back)
Abbreviations:
st – stitch sl st – Slip stitch
hdc – Half double crochet
3 hdc inc – Make three half double crochet stitches in the same stitch
PM – Place marker in the middle stitch
Video tutorial to attach fabric to crochet tunic:
Free pattern to crochet tunic:
Leave a 15cm tail to sew on the buttons
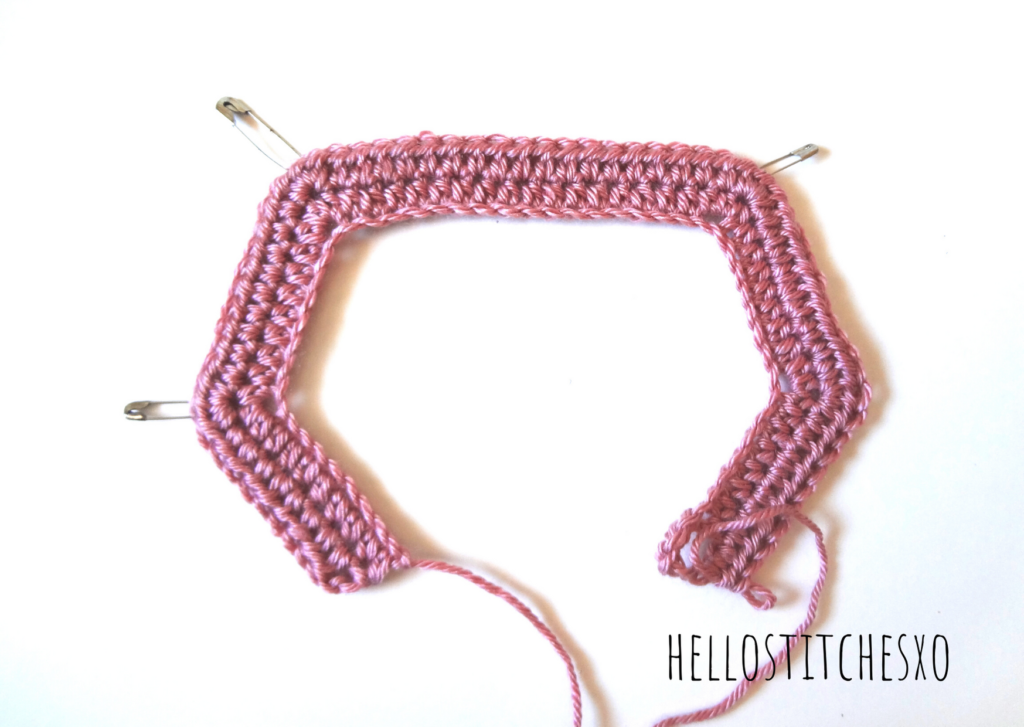
Foundation Chain: Chain 50
Set Up Round: Chain 3 (For the button loop), Start to crochet from the 5th chain from the hook.
7 hdc, 3 hdc inc (PM), 7 hdc, 3 hdc inc (PM), 16 hdc, 3 hdc inc (PM), 7 hdc, 3 hdc inc (PM), 8 hdc.
Round 1: Turn, Ch 2, 8 hdc, 3 hdc inc (PM), 9 hdc, 3 hdc inc (PM), 18 hdc, 3 hdc inc (PM), 9 hdc, 3 hdc inc, 9 hdc.
Round 2: Turn, Ch 2, 9 hdc, 3 hdc inc (PM), 11 hdc, 3 hdc inc (PM), 20 hdc, 3 hdc inc (PM), 11 hdc, 3 hdc inc, 10 hdc.
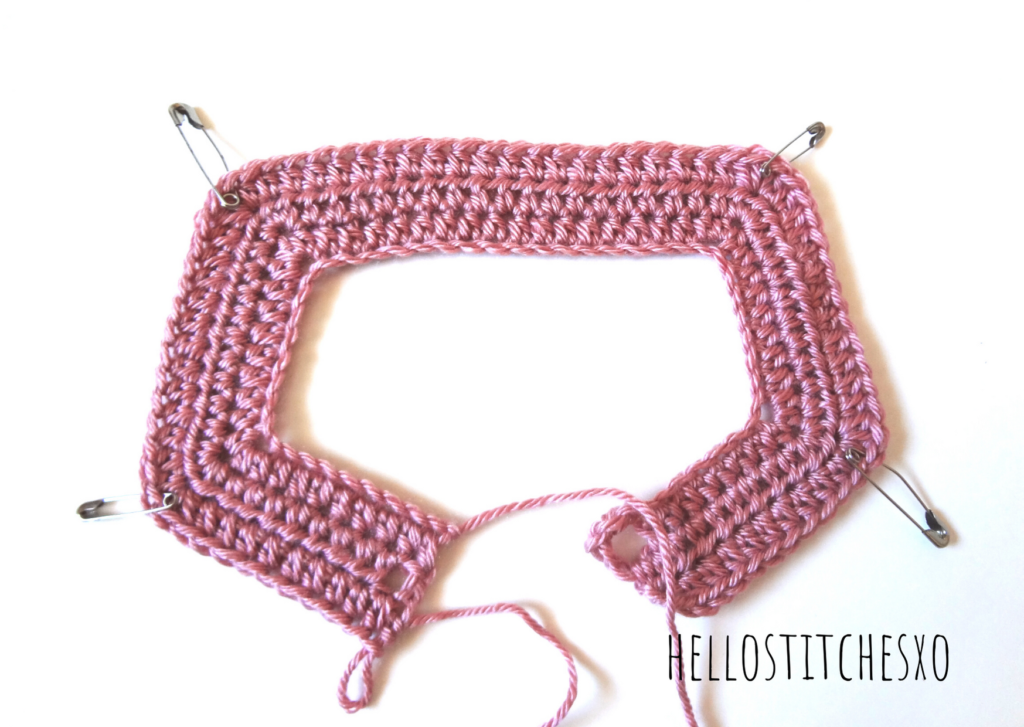
Round 3: Turn, Ch 2, 10 hdc, 3 hdc inc (PM), 13 hdc, 3 hdc inc (PM), 22 hdc, 3 hdc inc (PM), 13 hdc, 3 hdc inc, 11 hdc.
Round 4: Turn, Ch 2, 11 hdc, 3 hdc inc (PM), 15 hdc, 3 hdc inc (PM), 24 hdc, 3 hdc inc (PM), 15 hdc, 3 hdc inc, 12 hdc.
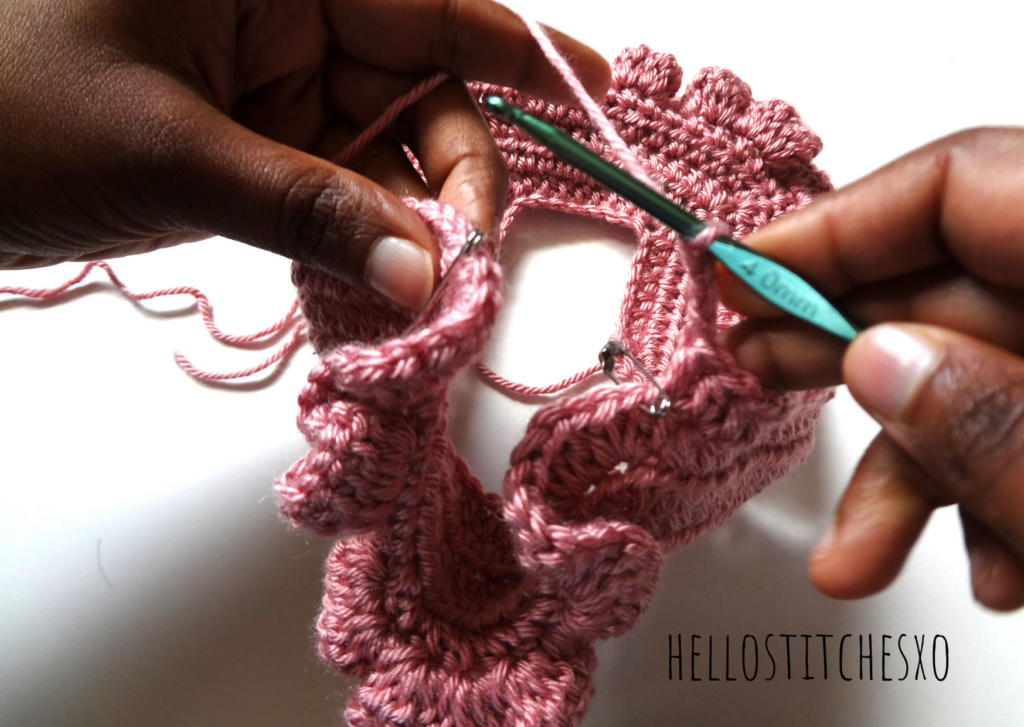
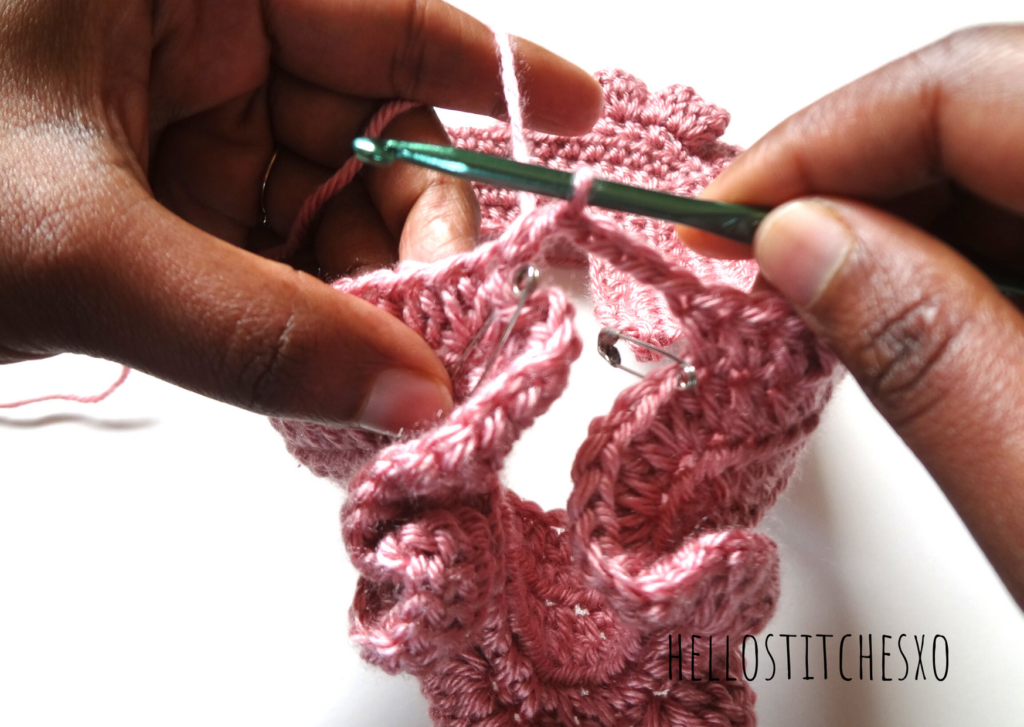
You can work Round 5 in the same manner as the above rounds or you can work frills on the sleeves as shown in the video
Round 5: Turn, Ch 2, 12 hdc, 3 hdc inc (PM), 4 dc in each stitch for the next 17 stitches till you reach the stitch marker, 3 hdc inc (PM), 26 hdc, 3 hdc inc (PM), 4 dc in each stitch for the next 17 stitches till you reach the stitch marker, 3 hdc inc, 13 hdc. Sl st on top of ch 2 to finish this round.
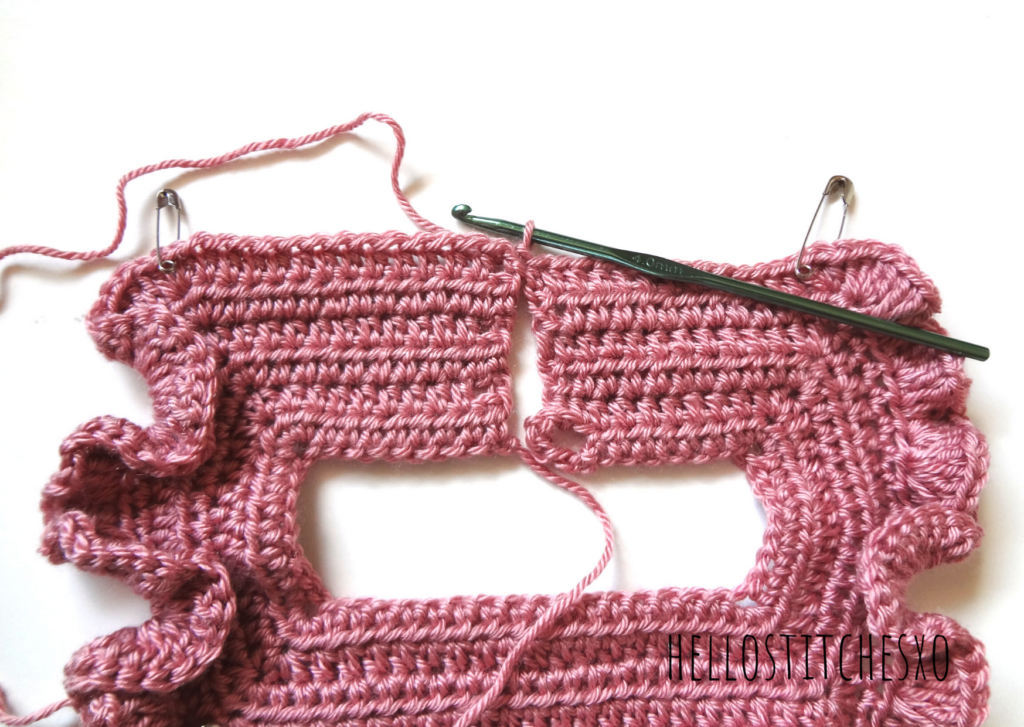
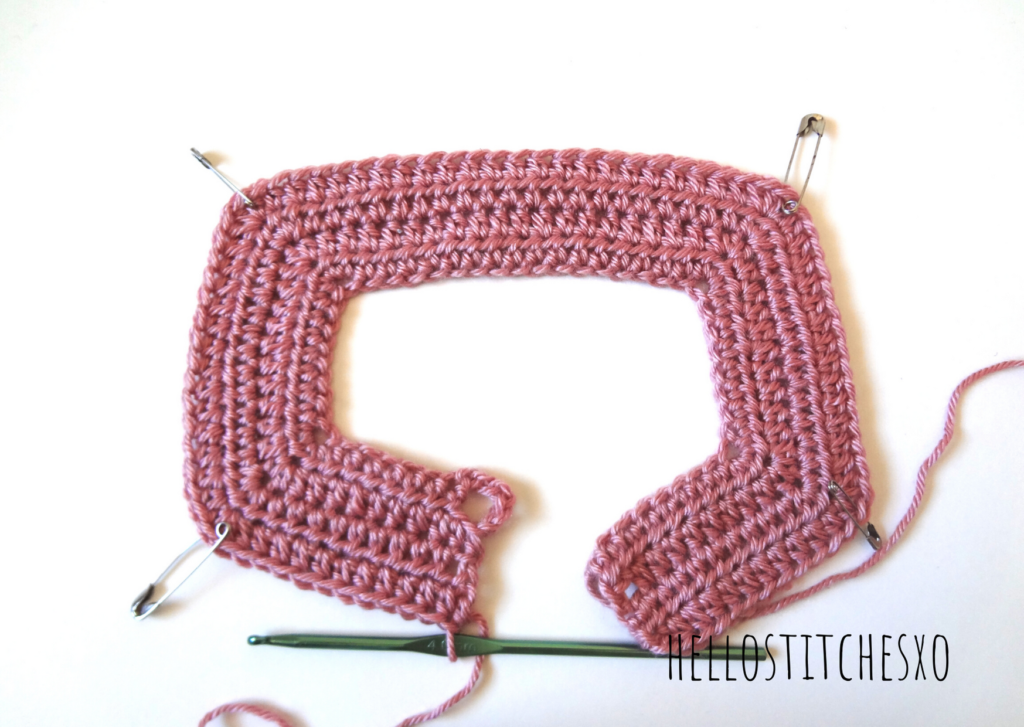
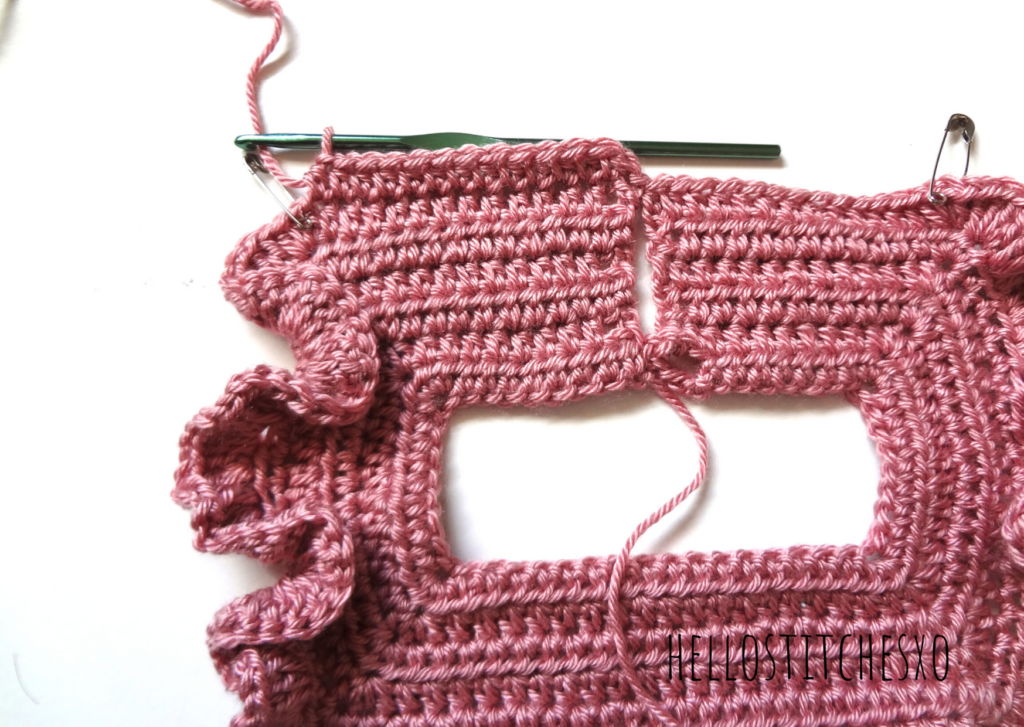
Now we’re going to work under the sleeves
Round 6: Ch 2, 13 hdc till the st before the stitch marker. Chain 3. 28 hdc, Chain 3. 14 hdc till the end of the round. Sl st to finish this round.
Round 7: Ch 2, 13 hdc, 3 hdc in the chain 3, 28 hdc, 3 hdc in the chain 3 area, 14 hdc till the end. Sl st to finish off round.
Round 8: Ch 2, 13 hdc, 3 hdc, 28 hdc, 3 hdc, 14hdc. Sl st to finish off.

How to attach fabric to crochet tunic
Now its time to attach the fabric to the crochet tunic. Sew the open end of the fabric. To make one skirt. Remember to hem the bottom half of the lining fabric.
Now, start making pleats on the top half of the skirt. And secure the pleats with a simple running stitch, watch video to understand how its done. The stitches should be done in a way that the top of the tulle skirt now works like a drawstring bag.
The tulle skirt is now ready and you can attach it to the crochet tunic. All that is left to do is to flip the top and skirt inside out. And secure it to each other using the simple back stitch. You can also use a machine to do that, but hand sewn works equally well as well.
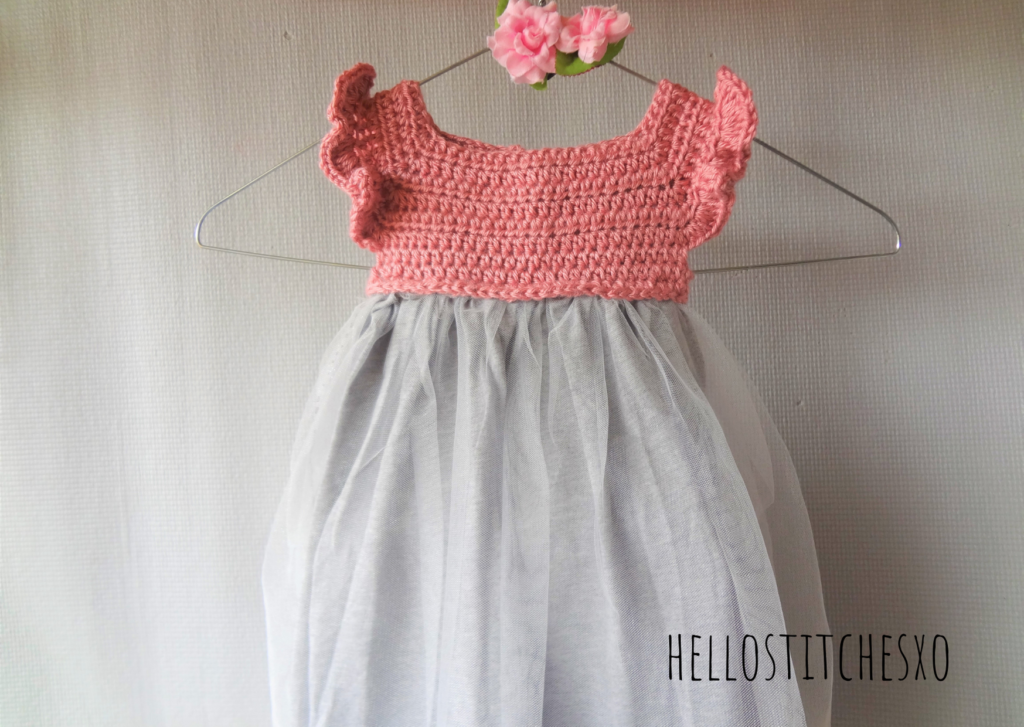
Ta da! that is your crochet tunic with a fabric/tulle skirt on the bottom. Looks so beautiful when worn for your newborn photography sessions.

So here’s how you can customize this tunic for different sizes and age groups.
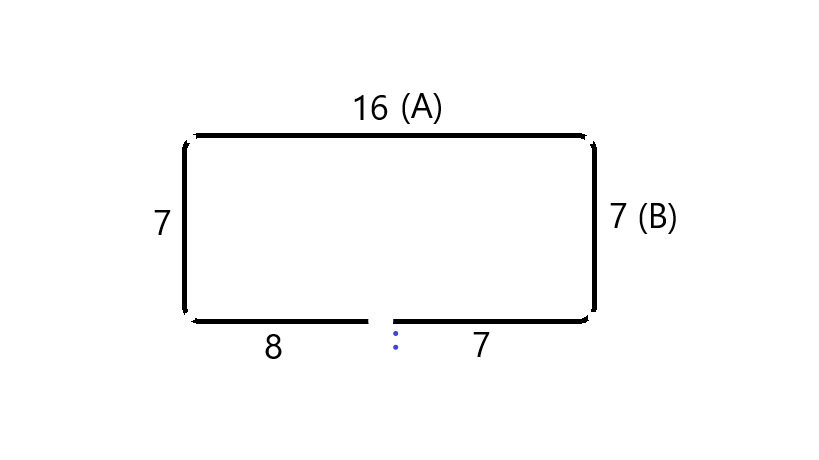
| Age | Number of hdc in the front side (A) | Length (A) | Number of hdc at the sleeves (B) | Foundation chain |
| 0-1 | 16 | 11cms | 7 | 50 |
| 1-2 | 18 | 12cms | 8 | 56 |
| 2-4 | 20 | 14cms | 9 | 62 |
| 4-6 | 22 | 15cms | 10 | 68 |
| 6-8 | 24 | 17cms | 12 | 74 |


Share your comments