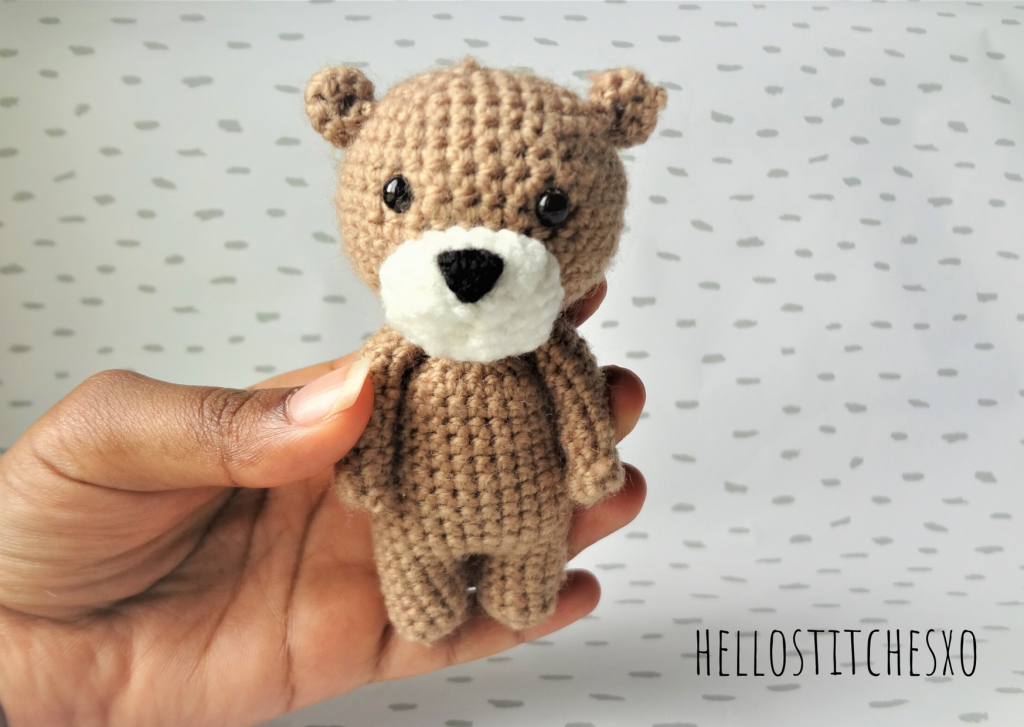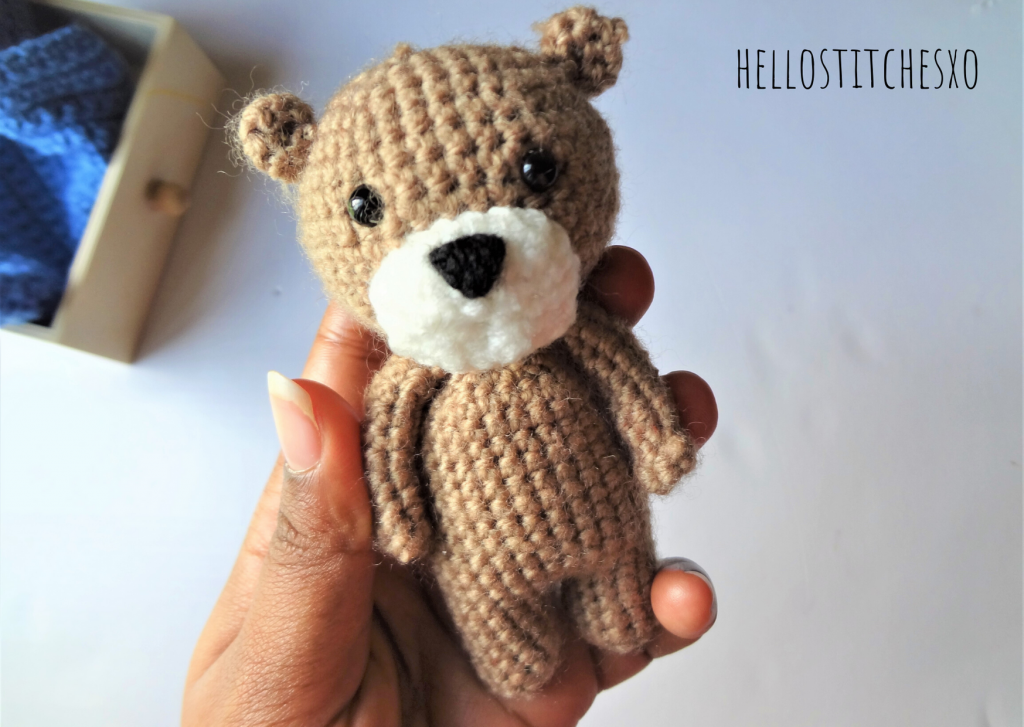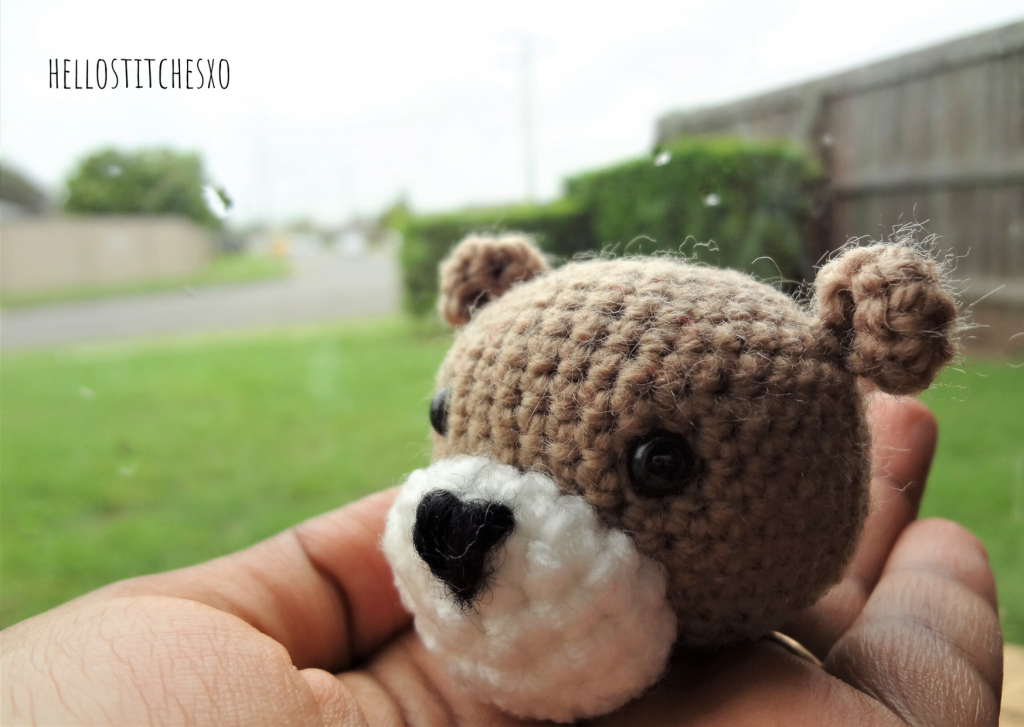
Are you constantly looking at cute crochet/amigurumi toys around the internet crochet world? Want to make your first amigurmi bear toy?
When you are ready for your first amigurumi bear, here is all the information you need.
Video Link to pattern: https://www.youtube.com/watch?v=k9Ra8lzlwtI&t=689s
Step 1: Crochet materials and hook.

Crochet Hook : 2.25mm. (But any hook between 2.25mm – 3.5mm, depending on the type of yarn you are using should work fine). Each crochet hook is labeled with a letter and/or the size in mm’s.
Yarn : 8 ply Acrylic yarn
Small safety pin or stitch marker: When crocheting in rounds, your project will grow more like a spiral, and it can be difficult to see where a round starts and ends. By using a safety pin, you can mark the first stitch of each round to keep track of where you start and finish each round.
Safety eyes: 6 mm. Feel free to embroidery eyes if you don’t want to invest in one.
Fiber Fill: You will need to stuff your Amigurumi Crochet bear after its been completed.
Tapestry Needle: After crocheting your project, you’ll have the head, body and arms of the bear which has to be sewn together to make the bear. A tapestry needle is therefore needed. It has a larger eye (where the yarn gets threaded into), and the end is usually rounded instead of sharp and pointed like a traditional sewing needle.
Step 2: Crochet stitches and abbreviations you need to know.
Magic circle: Wrap the yarn around your index finger, hold the point where your loops overlaps between your index and thumb. Insert your hook into the loop, from front to back and pull up a loop. Yarn over and pull through the loop on your hook. Tighten. The tail end of the loop can be pulled to adjust the size of the ring(Magic ring) that you’ve just made.
Single crochet – sc: After you’ve made the foundation magic circle, you will have to single crochet in the ring. Insert the hook into the magic circle, pull a loop. Now, you have two loops on your hook, yarn over, pull through the two loops to make a single crochet. For the following rounds you will insert hook into both loops on top of the single crochet from the previous round.
Single crochet increase – inc: Make two single crochet in the place of one single crochet from the previous round.
Invisible decrease – invdec: Insert hook into the front loop of the first stitch. Insert hook into the front loop of the second stitch. Yarn over and pull through the two loops. Again, yarn over and pull through the two loops, making a single crochet from the two sc’s of the previous round. You can also use a normal decrease if this one seems daunting and if you don’t mind the bumps from a normal decrease.
[stitch, stitch] * ‘n’ times: Repeat the stitches between the square brackets for n times around the round.
Step 3: Read & Follow the pattern.

Follow the video for the sequence, and help with reading the pattern to make your first amigurumi bear.
Head:
1) Magic circle, 6sc. (6)
2) 2sc in each st around. (12)
3) [sc, inc] * 6 times. (18)
4) [sc, sc, inc] * 6 times. (24)
5) [sc, sc, sc, inc] * 6 times. (30)
6) [sc, sc, sc, sc, inc] * 6 times. (36)
7) sc around. (36)
8) sc around. (36)
9) sc around. (36)
10) sc around. (36)
11) sc around. (36) /* Note: Put in your safety eyes */
12) sc around. (36)
13) sc around. (36)
14) [sc, sc, sc, sc, invdec] * 6 times. (30)
15) [sc, sc, sc, invdec] * 6 times. (24)
16) [sc, sc, invdec] * 6 times. (18) /* Stuff head */
17) [sc, invdec] * 6 times. (12)
Body:
Starting off with making two legs
1) Magic circle, 6 sc. (6)
2) 2sc in each st around. (12)
3) sc around. (12)
4) sc around. (12)
5) sc around. (12)
Join the two legs to make its body. Refer video to help with the join.
6) Ch 2, join, 12sc, ch2, 12sc.
7) sc around. (28) /* Stuff legs */
8) sc around. (28)
9) sc around. (28)
10) sc around. (28)
11) sc around. (28)
12) sc around. (28)
13) sc around. (28)
14) sc around. (28)
15) sc around. (28)
16) sc around. (28)
17) sc around. (28)
18) sc around. (28)
19) [sc, sc, invdec] * 7 times. (21) /* Stuff body */
20) [sc, invdec] * 7 times. (14)
Arms
1) Magic circle, 6 sc. (6)
2 – 10) sc around. (6)
Snout
1) Magic circle, 6 sc. (6)
2) 2sc in each st around. (12)
3) [sc, inc] * 6 times. (18)
4) sc around. (18)
Ears
1) Magic circle, 6 sc. (6)
2) sc around. (6)


Step 4: Attaching all the crocheted bits together to make your own stuffed crochet toy.
Note: It is always a good practice to leave a bit of tail from the crocheted bits before snipping them off.
This is the most important and often neglected part of making an amigurumi toy. Thread the needle to the yarn hanging off the crocheted bit, and whip stitch through every single crochet stitch, only if your joins are seamless your amigurumi toy is going to look perfect.
Ta da! here’s your first amigurumi bear.


