Trust me, at some point in your life as a crochet toy maker you will end up looking for amigurumi paws or arms. I am here to show you what I think is the best way to make them. If you are an expert you have worked it out already, but if you are a beginner like me you will find this pattern very useful.


You can use this amigurumi paws and arms pattern, with slight variations to make a wide array of items to suit your needs.
- Amigurumi cat, dog or any animal paws and arms.
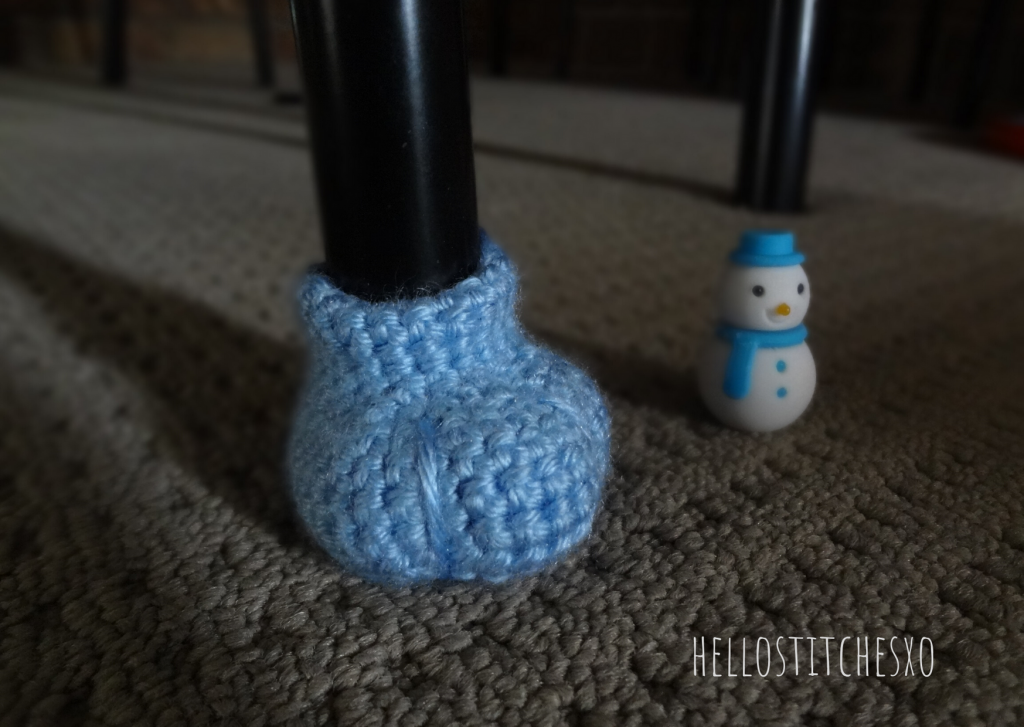
- Pawsome furniture feet pads
- Amigurumi boxing gloves
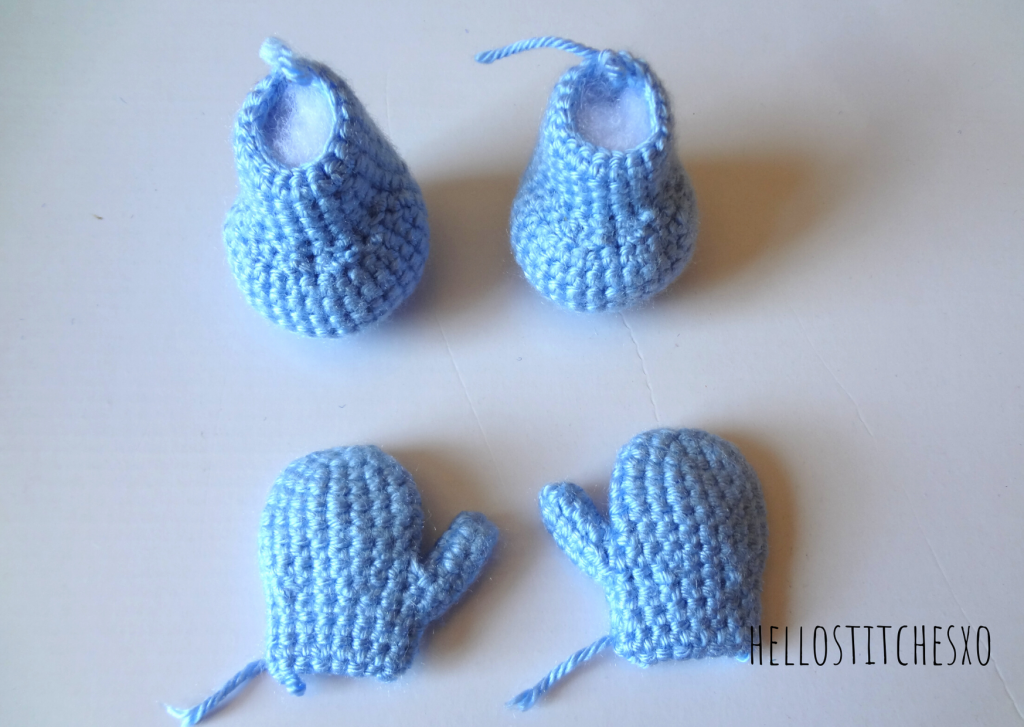
- Mittens ornaments
- Crochet boots
- Paw patrol dogs
If you have any other creative idea using this pattern let me know in the comments.

Video help to make these arms and paws:
Amigurumi paws
Round 1: Magic circle, 6sc in it. (6)
Round 2: 2sc in each sc around. (12)
Round 3: [sc, inc] * 6 times. (18)
Round 4: [sc, sc, inc] * 6 times. (24)

Round 5: [sc, sc, sc, inc] , [hdc, hdc, hdc, hdcinc] * 4 times, [sc, sc, sc, inc] (30)

Round 6: Sc around. (30)

Round 7: sc around. (30)
Round 8: sc around. (30)
Round 9: sc around. (30)
Round 10: 5sc, [sc, invdec] * 6 times, 7sc. (24)

Round 11: 5sc, [sc, invdec] * 4 times, 7sc. (20)
Round 12: sc around. (20)
Round 13: sc around. (20)
Round 14: sc around. (20)
Round 15: sc around. (20)

Amigurumi arms/mittens
Thumb: (Make two of these)
Round 1: Magic circle, 6sc in it. (6)
Round 2: 6sc. (6)
Round 3: sc around. (6)
Round 4: sc around. (6)
Based on whether you are making the left or right hand, you have to attach the thumb accordingly.

Round 1: Magic circle, 6sc in it. (6)
Round 2: 2sc in each sc around. (12)
Round 3: [sc, inc] * 6 times. (18)
Round 4: sc around. (18)
Round 5: sc around. (18)
Round 6: sc around. (18)
Round 7: sc around. (18)
—>
Round 8: Join the thumb, 6sc around, 18sc around. (24)

Round 9: sc around. (24)
Round 10: [sc, sc, invdec] * 6 times. (18)
Round 11: sc around. (18)


I am working on Bluey. He is adorable and your instructions are easy to follow. I have the body almost finished but do not see what to do after row 32. You say to do the invisible decrease where we increased. Thats fine but for how many rows/times do you decrease. Then do you just stuff and close the seam. There are instructions for placing eyes but not for all the other parts. Am I missing something? thank you
Hi Cheryl, yes the pattern is a little incomplete. It is a long overdue pending update which I hope to get it done.
I remember making 6 rounds of decreases atleast before I stuffed and sewed down the seam.
And yes, no instructions of how to attach other parts. Sorry that I dont have a proper reply right now, but thank you for pointing out the areas that my pattern is missing. I’ll work on setting them right.