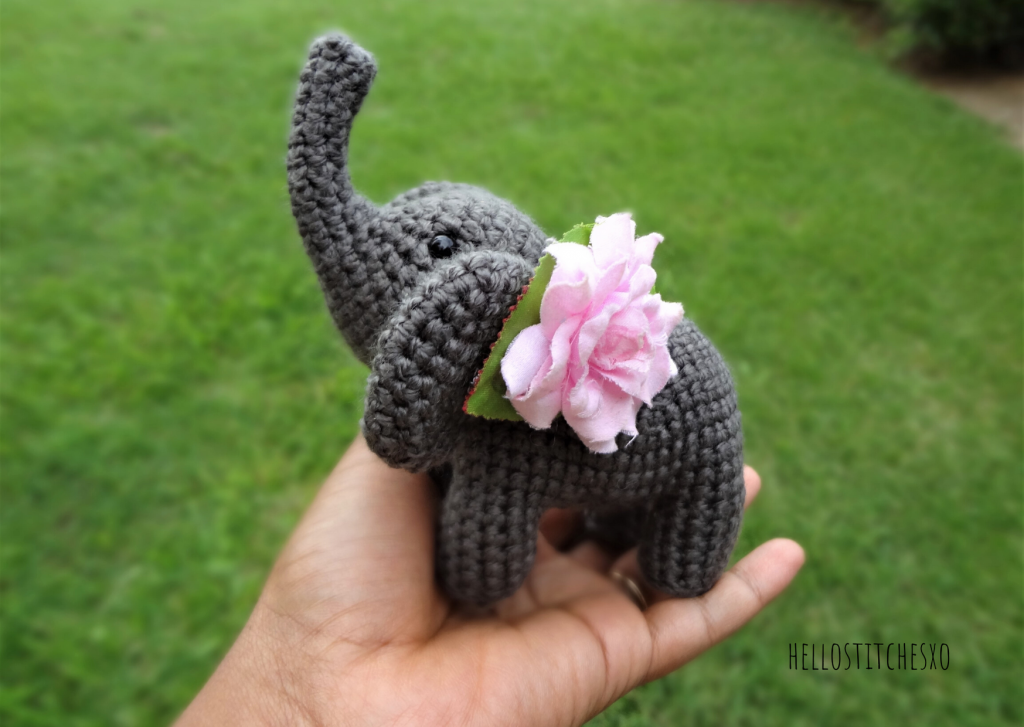
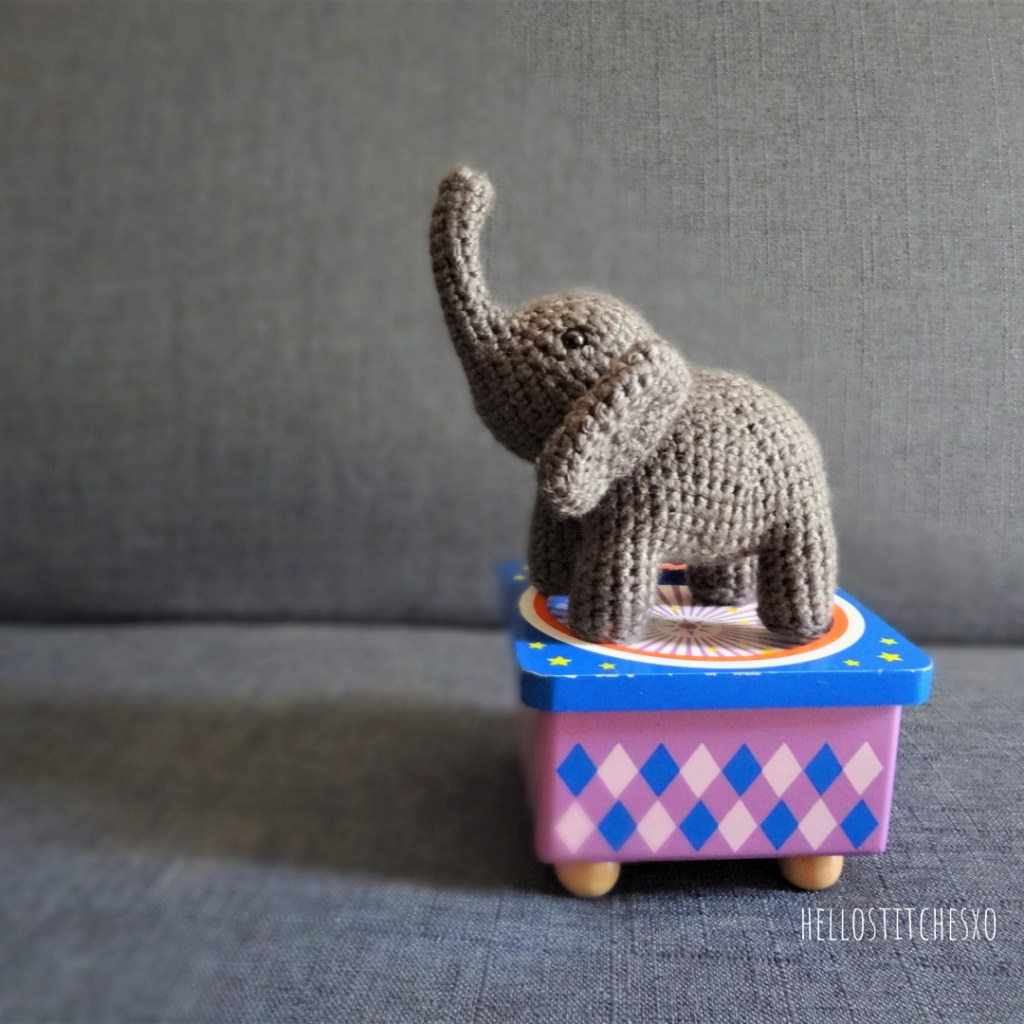
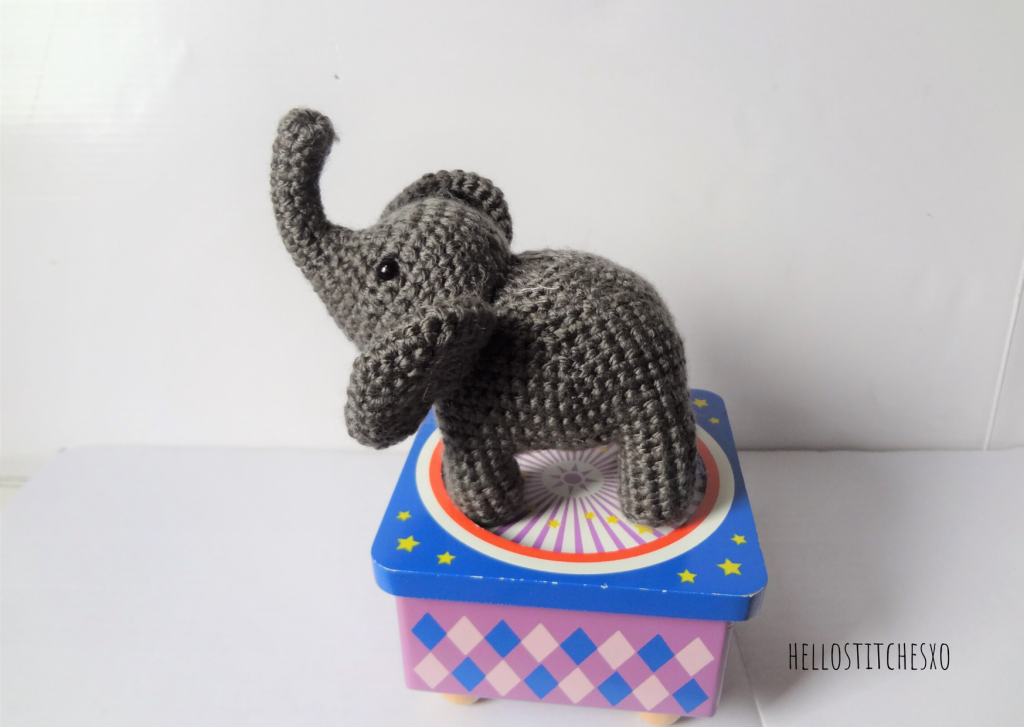
Make a cute palm-sized amigurumi elephant using this crochet free pattern. I made an amigurumi elephant 8 years back and I have had the chance to finally edit and properly update this pattern.
There are other cute amigurumi elephants on the internet but, this is THE best one with a free pattern that goes with it(Kindly excuse the ostentatious display of self-love). The free pattern is for an amigurumi elephant that is standing on four legs, in a cute size that fits your arm. The legs and body are worked in one piece, so there is minimal need for sewing with this pattern.
Although if you need an AD-free version, please buy the pattern from my Ravelry shop.
Because the elephant is palm-sized, the project works up pretty quickly and uses lesser yarn(being diligent during these tough times).
So let’s get on to the pattern to make this cute amigurumi elephant.
Items you’ll need
- Gray color 8 ply acrylic yarn. Any yarn of your choice.
- Hook : 2.25mm
- Stitch markers
- Tapestry needle
Abbreviations
ch – Chain
sl st – Slip stitch
sc – Single crochet
inc – Make two single crochets in the same stitch
dec – Combine two stitches into one single crochet
invdec – Insert hook into the front loop of the first stitch. Insert hook into the front loop of the second stitch. Yarn over and pull through the two loops. Again, yarn over and pull through the two loops, making a single crochet from the two sc’s of the previous round. You can also use a normal decrease if this one seems daunting and if you don’t mind the bumps from a normal decrease.
[stitch] * ‘n’ times – repeat the stitches between the [] n times.
Recommended Sequence
- Make the four legs first.
- Crochet all the legs together to make the elephants body.
- Start crocheting the head by starting from the trunk.
- Two crochet ears.
- Stuff and sew it all together.
Video help to the pattern
Elephant amigurumi – free pattern
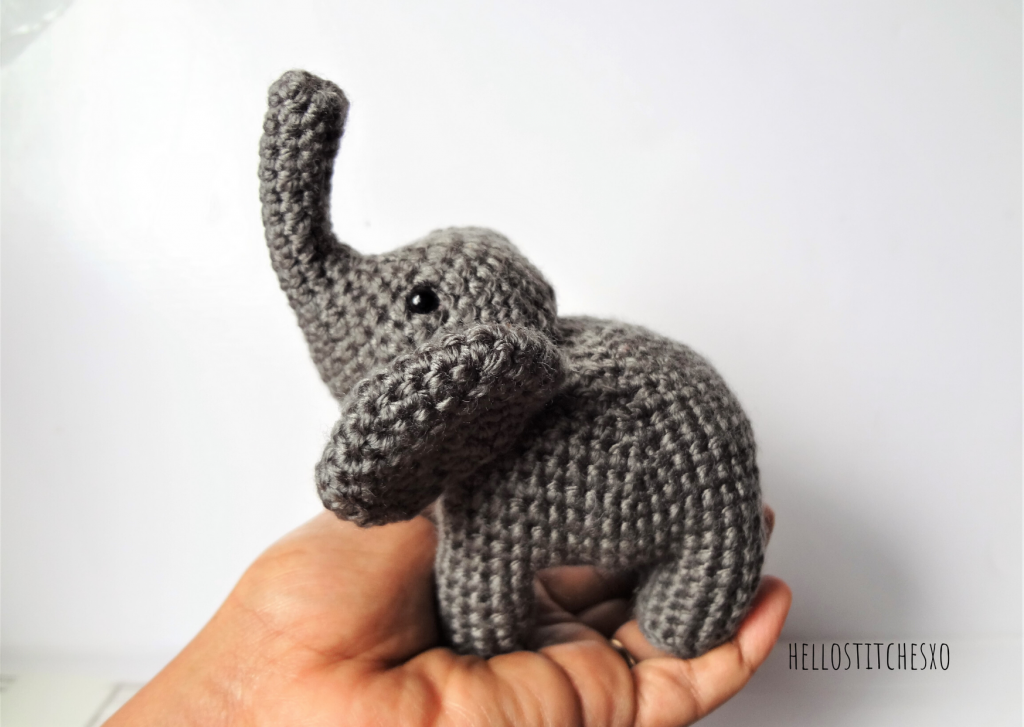
- Finished size: Palm sized.
- Skill level: Intermediate.
Legs:
R1) Magic circle, 6SC. (6)
R2) 2SC in each st around. (12)
R3) SC around, in back loops only. (12)
R4 – R8) SC around (5 rounds). (12)
Make four legs for your amigurumi elephant.
After you’ve made the last of the four legs, dont not finish off. Instead, use the same yarn to start crocheting the body and joining the four legs.


Body:
Start from the fourth leg, leg 4.
R1) Chain 2, 12SC around leg 1, Chain 4, 12SC around leg 2, Chain 2, 12SC around leg 3, Chain 4, 12SC around leg 4. (60)
R2) SC around. (60)
R3-R6) SC around (4 rounds). (60)
It is easier to stuff legs now. So, do it now.
R7) ( 8SC, INVDEC ) * 6 times. (54)
R8) ( 7SC, INVDEC ) * 6 times. (48)
R9) ( 6SC, INVDEC ) * 6 times. (42)
R10) ( 5SC, INVDEC ) * 6 times. (36)
R11) ( 4SC, INVDEC ) * 6 times. (30)
R12) ( 3SC, INVDEC ) * 6 times. (24)
R13) ( 2SC, INVDEC ) * 6 times. (18)
R14) ( SC, INVDEC ) * 6 times. (12)
R15) ( DEC ) * 6 times. (6)
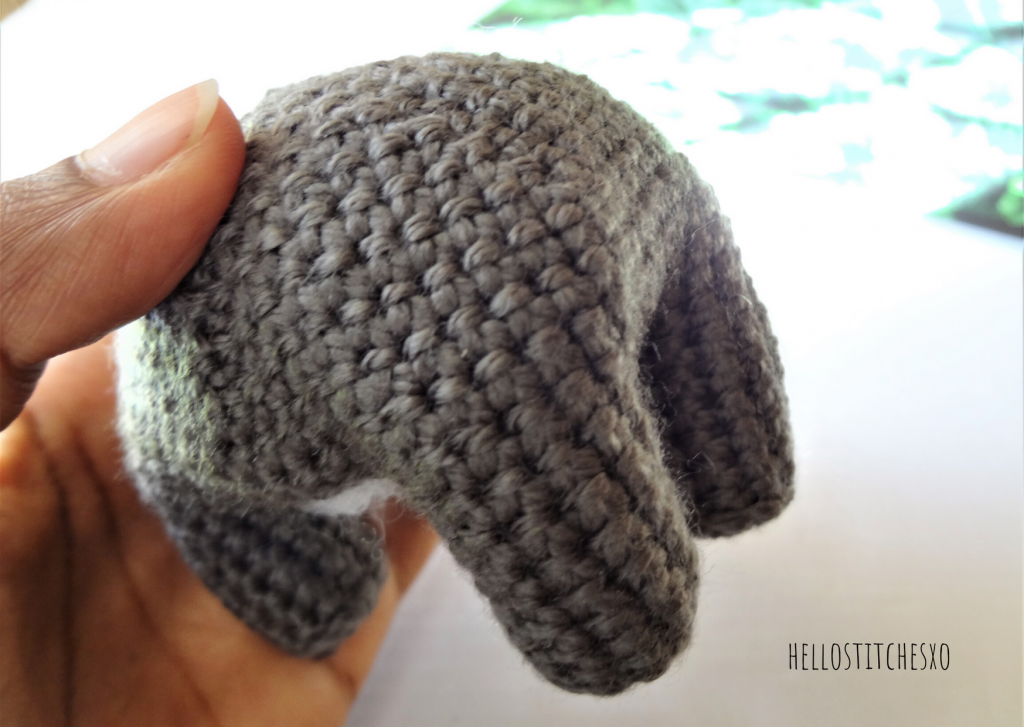
For the bottom half of the body
R1) 2SC, 3SC in leg 1, 4SC, 3SC in leg 2, 2SC, 3SC in leg 3, 4SC, 3SC in leg 4. (24)
R2) SC around. (24)
[SC, DEC] * Repeat till we close the bottom half of the elephant

Head:
R1) Magic circle, 8SC. (8)
R2-R8) SC around (7 rounds). (8)
R9) 6SC, INC, INC. (10)
R10) SC around. (10)
R11) 6SC, INC, INC, INC, INC. (14)
R12) SC around. (14)
R13) 6SC, INC, INC, INC, INC, INC, INC, INC, INC. (22)
R14) SC around. (22)
R15) 10SC, 12INC. (34)
R16-R20) SC around (5 rounds). (34)
R21) 10SC, [SC, DEC] * repeat till the end of the round. (24)

Ears:
R1) Magic circle, 6SC. (6)
R2) 2SC in each st around. (12)
R3) [SC, INC] * 6 times. (18)
R4) [2SC, INC] * 6 times. (24)
R5) [3SC, INC] * 6 times. (30)
R6) SC around. (30)


Here is a free beginner pattern that I did six years ago.

I’ve always wanted to make elephants since I started making cute animals although I still am not satisfied this is the one which is close to near perfection. I’m sure there will be an improvised elephant pattern coming up soon, till then please bear with this my lovely crocheters.
Crochet hook : 2.5mm
Starting with the elephants trunk and then proceeding to it’s head,
Round 1: Magic circle, 6sc in it. (6)
Round 2: [1sc in each sc] * 6 times (6)
:
Round 7: [1sc in each sc] * 6 times (6)
Round 8: 2sc in each sc around. (12)
Round 9: [sc in the sc, 2sc in the next sc] * 6 times. (18)
Round 10: sc in the next 6 sc, [sc in the sc, 2sc in the next sc] * 6 times. (24)
Round 11: slip stitch in the next 6 sc, [sc in the next 2 sc, 2sc in the next sc] * 6 times. (24 sc + 6 slip stitches)
Round 12: sc in the next 6 slip stitch, sc in each sc around. (30)
Round 13: [sc in the next 3sc, dec in the next 2sc] * 6 times. (24)
Round 14: sc in each sc around. (24)
You will now have the elephants head and trunk.
Elephant’s body is worked from the tail part to it’s neck
Round 1: Magic Circle, 6sc into the circle & then pull it close. (6)
Round 2: 2sc in each sc around. (12)
Round 3: [sc in the sc, 2sc in the next sc] * 6 times. (18)
Round 4: [sc in the next 2sc, 2sc in the next sc] * 6 times. (24)
Round 5: [sc in the next 3sc, 2sc in the next sc] * 6 times. (30)
Round 6: [sc in the next 4sc, 2sc in the next sc] * 6 times. (36)
Round 7: [sc in the next 5sc, 2sc in the next sc] * 6 times. (42)
Round 8: sc around. (42)
:
Round 12: sc around. (42)
Round 13: [sc in the next 5sc, dec in the next 2sc] * 6 times. (36)
Round 14: [sc in the next 4sc, dec in the next 2sc] * 6 times. (30)
Round 15: [sc in the next 3sc, dec in the next 2sc] * 6 times. (24)
Make four of these elephants legs,
Round 1: Magic Circle, 6sc into the circle & then pull it close. (6)
Round 2: 2sc in each sc around. (12)
Round 3: sc around. (Working in back loops only). (12)
Round 4: sc around. (12)
:
Round 8: sc around. (12)

Join all of the parts and voila you now have a tiny little elephant for yourself.
Ears:
Round 1: Magic Circle, 6sc into the circle & then pull it close. (6)
Round 2: 2sc in each sc around. (12)
Round 3: [sc in the sc, 2sc in the next sc] * 6 times. (18)
Round 4: [sc in the next 2sc, 2sc in the next sc] * 6 times. (24)
Round 5: sc around (24)
:
Round 7: sc around (24)
I only sewed in the ends of the ears to the elephants body, so I was able to flap the ears from front to back. It looked somehow cinched, but pretty from the angle I took the picture from.


I like your elephant’s ears! Please write that down.
Thanks, I have written them down now Roxanne. 🙂
Alright, this is a very beautiful elephant pattern, but I thought you might like to know that you have a mistyped section. When you have the stitch number for the head, and right after your 12 Increases, you typed 32. The correct stitch number for that is 34. I completely understand the mistake, in fact, it’s one I’ve made before. But 10 sc, and 12 Inc is 34, not 32 😅
Thank you for sharing the pattern, I’ve loved it to pieces and made soooooo many elephants with it. Keep crocheting!
Hey Divssy:
FYI… I have to say that I have been searching for what seems like AGES to find
‘just the right’ elephant pattern. (I love to hand-make baby gifts :0) )
When I came across yours, I was TOTALLY ELATED. It is, without question, the
CUTEST LITTLE ELEPHANT I have come across. Period!
Thanks for sharing your creation
– you are wonderfully talented!!
Hope I will get to see more of your ideas some day.
All the Best,
NanaJan
Alberta, Canada
Hi! I used your pattern with a few modifications and the end results are here if you want to take a look!
https://www.facebook.com/media/set/?set=a.10210833290727564.1073741831.1210217782&type=1&l=ee39ede2f9
Thanks for the pattern, real nice and easy to use!
Size of yarn??
I closed the ears with a sc and then a slip stitch across then turned work finishing with a picot edges. Just frilled edge a tad. I would add a photo but I don’t know how.. thanks for sharing.
Oops that was in the back loops to close. It looks like a ravioli
For my ears: MagicCircle 6sc, R2-2sc in next 5 stitches, sl st next 2 stitches chain 1 turn R3-3 sc in next st, sc in next 13 stitches, sl st in next 2 stitches, tie off and leave a long tail for stitching
I also made the head and body but I’ll have to make another one so I can remember the pattern! I love you’re Ellie, she’s my favorite. I used your pattern for the body just continued with an extra round for neck and worked your pattern backward
Hi! The pattern is so lovely, just what ive been looking for.
Have several questions:
1. Legs: missing R4. Is that another SC around?
2. Head: R14) – ends with 22 st, then, R15) – increasing 12 ends with 34 and not 32 as mentioned, so where is the mistake? Should I inc 10?
Really thank you <3
I found the same errors. I am glad someone else saw this as well. I did the legs ending at round 8; rather than round 9 (to make up for the missing round 4). I did the head with 34 stitches (not the 32 as named in pattern). It was the only way to complete without dropping a stitch. Thank you for sharing your comments –it helped me understand the pattern better!!
I think they are tremendously cute! I LOVE it and I am about to start crocheting and I wanted to make one of these for my sister because her birthday is in may.
Lots of love
Madalena
You’re so right. This is the best elephant. I’ve looked at various patterns for a little elephant who will eventually stand on my desk and motivate me and this is my favourite. Looking forward to making him, thank you for this!
I made this with a bulky yarn and a 6.5mm crochet hook. Turned out as long as my forearm and so cute! Definitely recommend, it worked wonderfully!
I really love this elephant pattern, I too picked up on the mistakes in the pattern, but being an advanced crocheter, I saw what you meant and finished the legs after round 9 and also, the 10 sc 12 increases, I did instead do 12 Sc and 10 decreases to get the 32 stitches, other than that, it was a great pattern. I too agree, it’s one of the best elephant patterns I’ve come across and actually wanted to try. Thanks for sharing 🙂
This was just the thing I needed to add something to a parcel for my cousin’s son! It worked up well and the instructions were clear, with a little help from the video to clarify placement. Love your blog and thanks for the pattern!
I’m having trouble understanding how to close the body 🙁 maybe someone can explain?
I love your elefant. I made it for a indian baby, so is going to Bangalore next week. I hope the baby loves it. I made it using Aunt Lydia’s Fashion 3 crochet thread, 100% mercerized cotton in Copper Mist and embroidered the eyes with black embroidered thread. It was my first Amigurumi. Thank you for a wonderful and very detailed pattern❤️
For the bottom half of the body
R1) 2SC, 3SC in leg 1, 4SC, 3SC in leg 2, 2SC, 3SC in leg 3, 4SC, 3SC in leg 4. (24)
im having trouble understanding this part. can you please explain? i also watched the video above, but it only explains how to start the body.